
You’ve picked out the perfect tiles. You’re excited. Then you hand them to the wrong installer and end up with uneven rows, cracked corners, and grout that’s already turning black after six months. Suddenly your dream bathroom or kitchen looks cheap and you’re out thousands. Proper tile installation is the difference between “wow” and “ugh”. At Barrie Oaks Flooring we’ve been doing flawless tile work for years, so your floors and walls look magazine-perfect and stay that way for decades.
Why Professional Tile Installation Actually Saves You Money
DIY videos make it look easy. The truth dawns when tiles fail to fit, grout cracks or water gets behind the shower wall.
Biggest Reasons Homeowners Wish They Called Us First:
- Perfect leveling: No lippage or tripping hazards.
- Waterproofing done right: Zero leaks behind walls or under floors.
- Straight, crisp lines: Patterns and grout joints look sharp for life.
We see it every week: someone spends a fortune on beautiful porcelain and then watches it ruined by bad prep. Professional tile installation protects your investment.
Our Proven Step-by-Step Tile Installation Process
We’ve installed thousands of kitchens, bathrooms, entries, and basements. Here’s exactly how we make it perfect every time.
First we inspect the subfloor or walls for movement and moisture. Then we fix anything that could cause problems later. We lay out the tiles dry so you see and approve the pattern before anything is permanent. Precision cutting, perfect spacing, and premium thin-set keep everything locked in place. Grout and sealing finish the job so it stays beautiful forever.
A young couple told us last month, “We were nervous about our huge shower project. Your crew was finished in four days and it looks better than the pictures we showed you!”
Common Tile Installation Mistakes (and How We Avoid Them)
Even small errors cause big headaches later.
Mistakes We Never Make:
- Skipping backer board: Prevents cracks over wood subfloors.
- Wrong thin-set: We match mortar to tile type and location.
- Rushing grout: We wait full cure time so colour stays even.
- Poor sealing: Every grout line gets sealed twice for stain protection.
It is these facts that make our customers send us photos many years after, claiming that their floors look brand new.
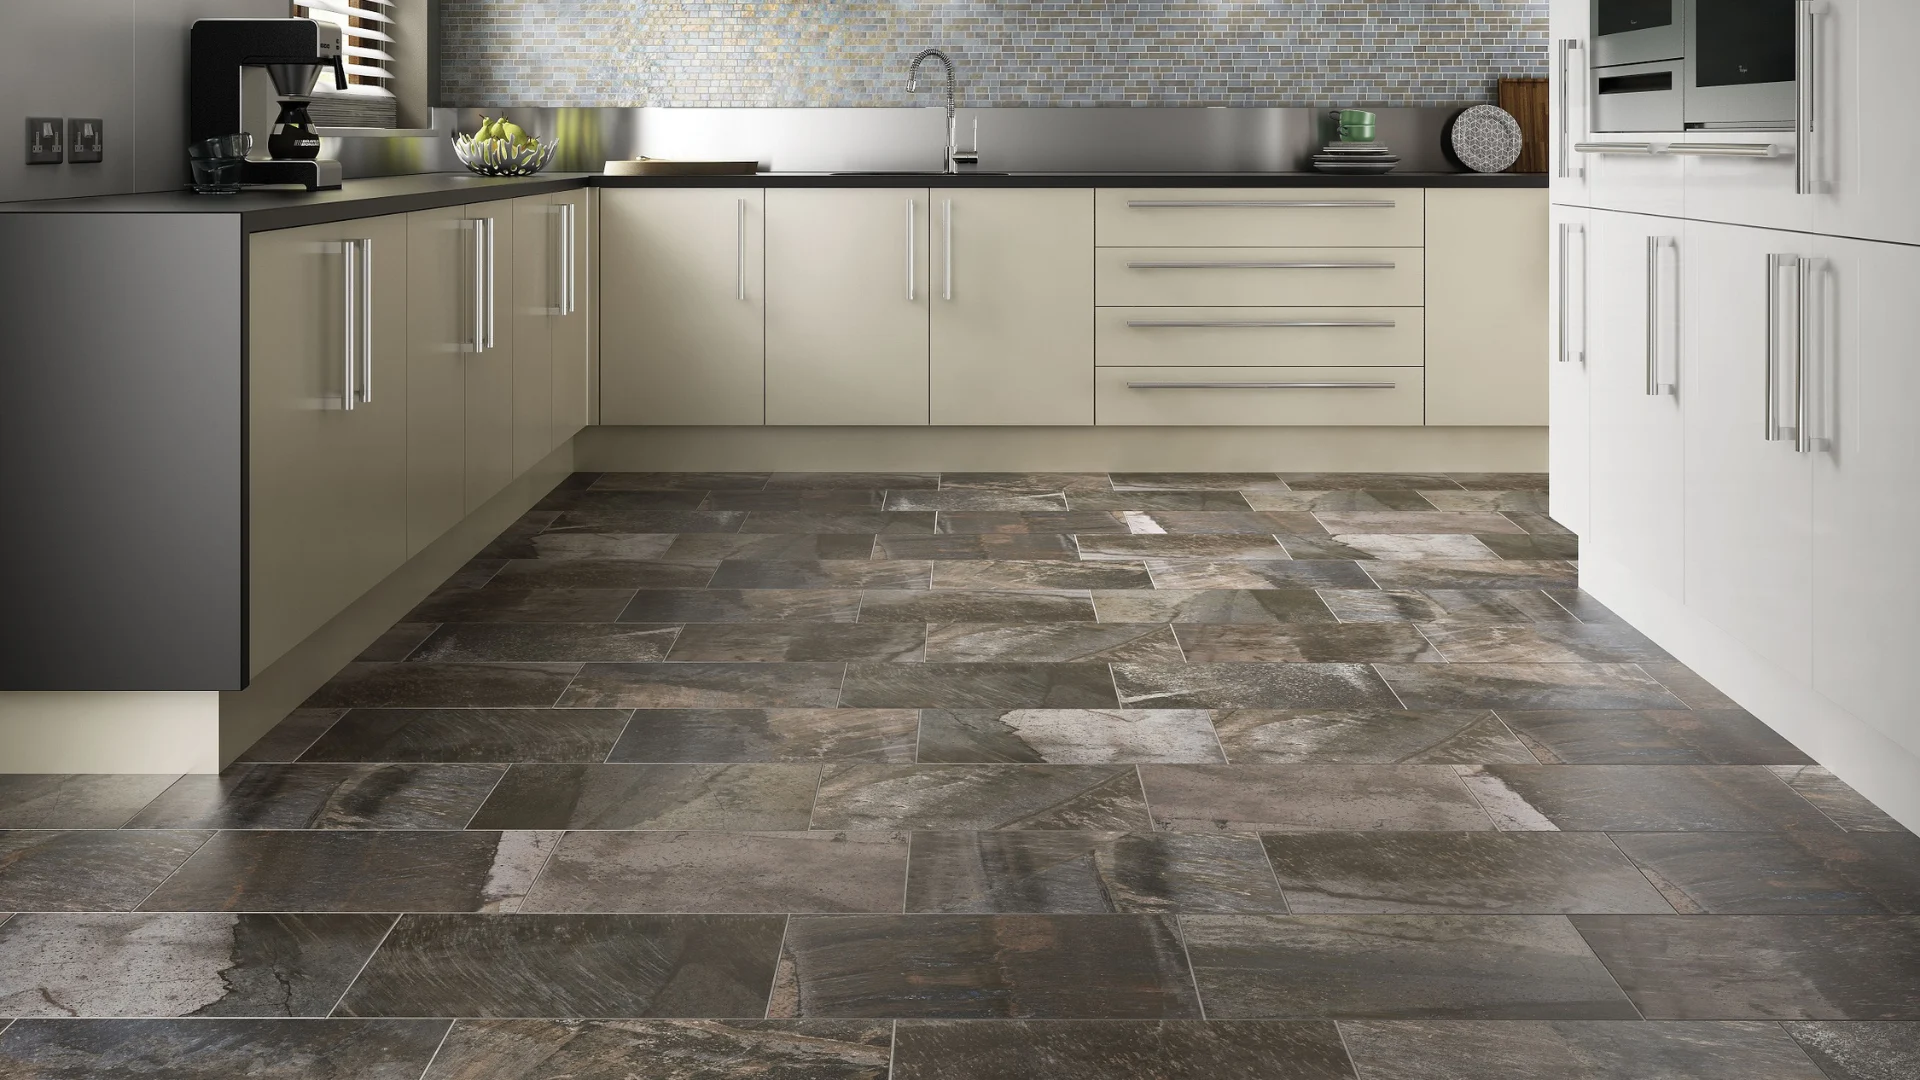
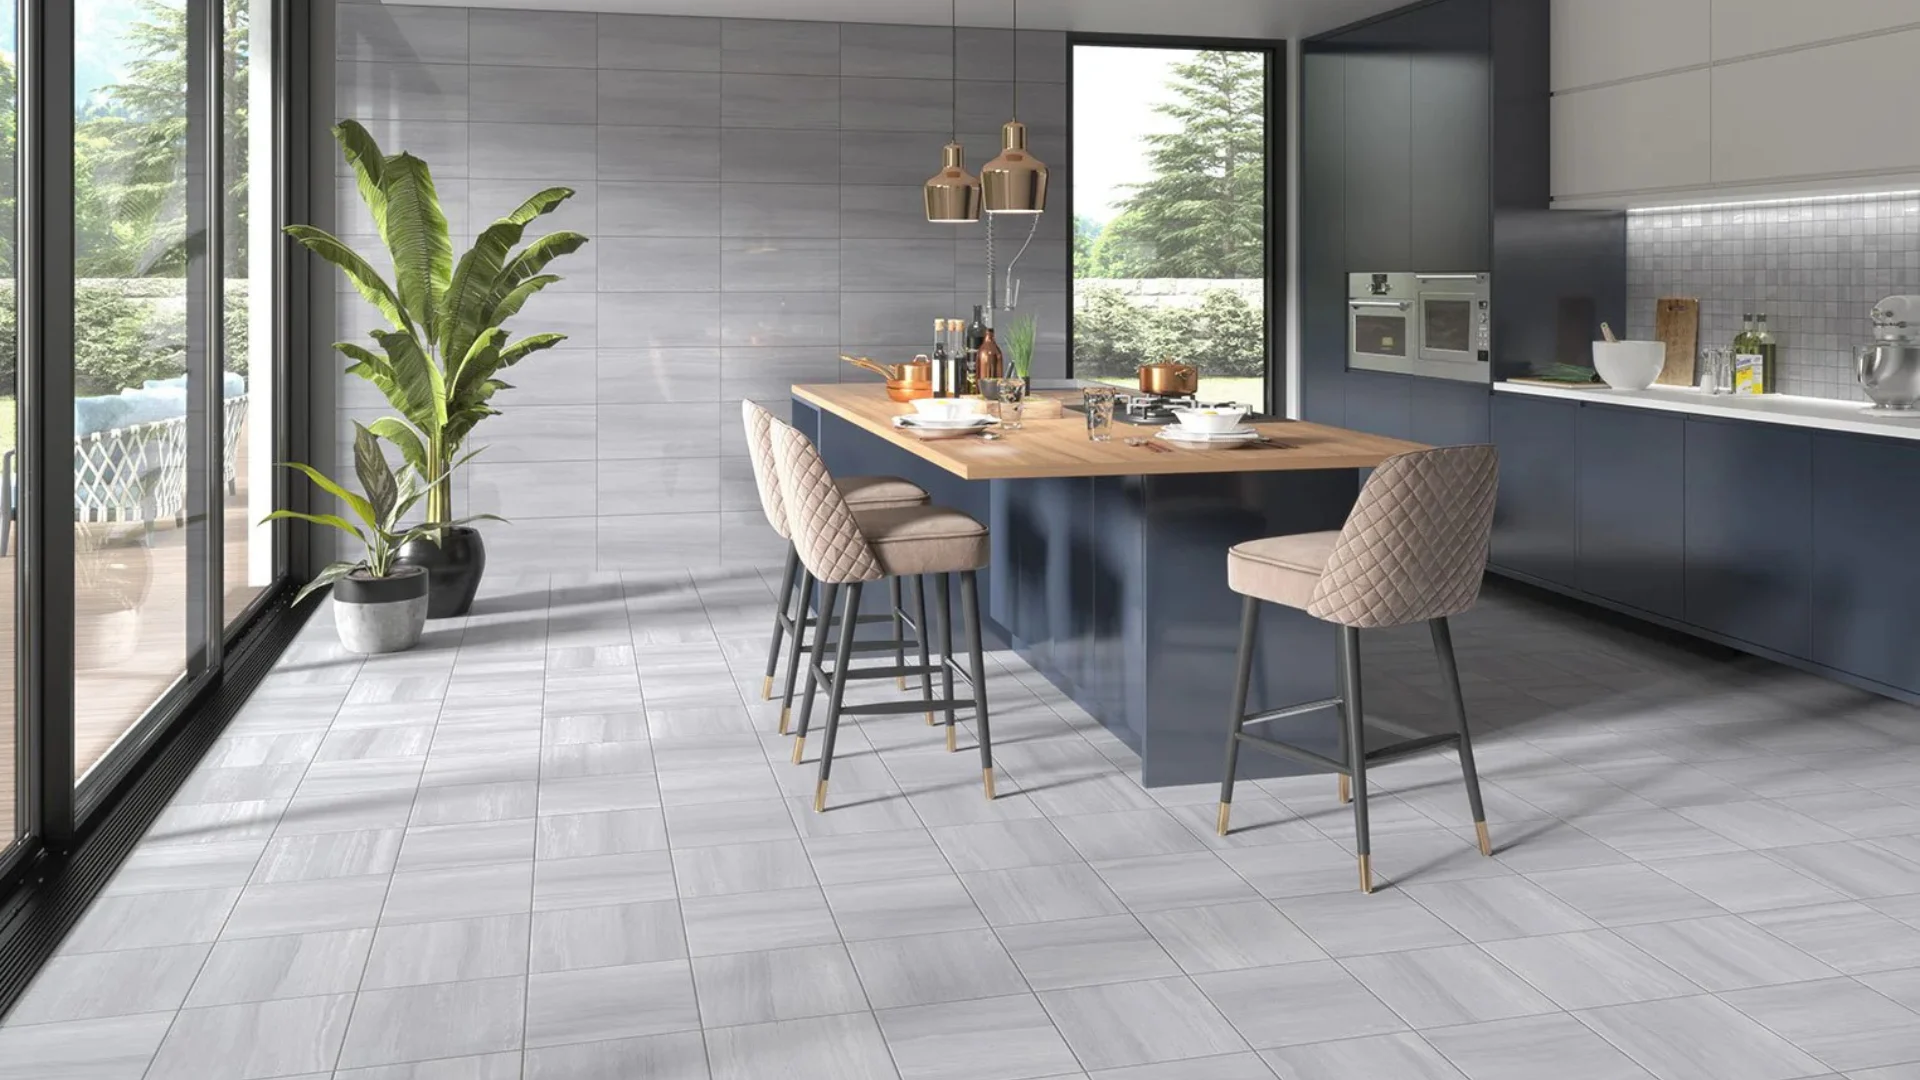
Choosing the Right Tiles for Easy, Long-Lasting Installation
Some tiles are harder to install than others. We help you pick ones that look amazing and go down smoothly.
Best Choices for Flawless Results:
- Rectified porcelain: Laser-cut edges for super-tight grout lines.
- Large-format 12×24: Fewer joints, modern look, faster install.
- Mosaic accent sheets: Pre-mounted so patterns stay perfect.
We keep the newest trending colours and sizes in stock so you don’t wait months.
Learn how we make flooring simple and reliable – Get To Know Us!
Simple Care Tips After Your New Tile Installation
Once we’re done, keeping it gorgeous takes almost no work.
Sweep or vacuum regularly. Mop with warm water and mild cleaner once a week. Re-seal grout every 2–3 years in wet areas. That’s it. Your floors and walls will look freshly installed for decades.
Frequently Asked Questions
How long does professional tile installation take?
Most bathrooms 3–5 days, kitchens 4–7 days. We work around your schedule.
Can you tile over existing tile?
Yes in many cases. We check first to make sure it’s safe and stable.
Do you remove old flooring first?
Always. Proper prep is the secret to perfect results.
Is tile installation expensive?
It depends on size and tile choice, but quality work prevents costly repairs later.
Can you match existing tile for repairs?
We keep records and samples so repairs blend perfectly.
Do you install heated floors with tile?
Yes, we love doing radiant heat. It’s warm and luxurious.